
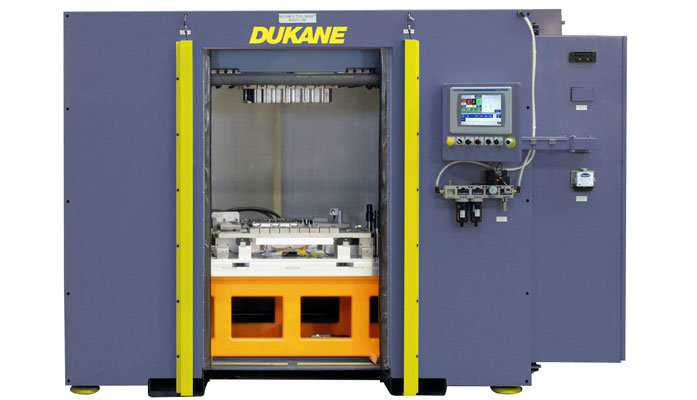
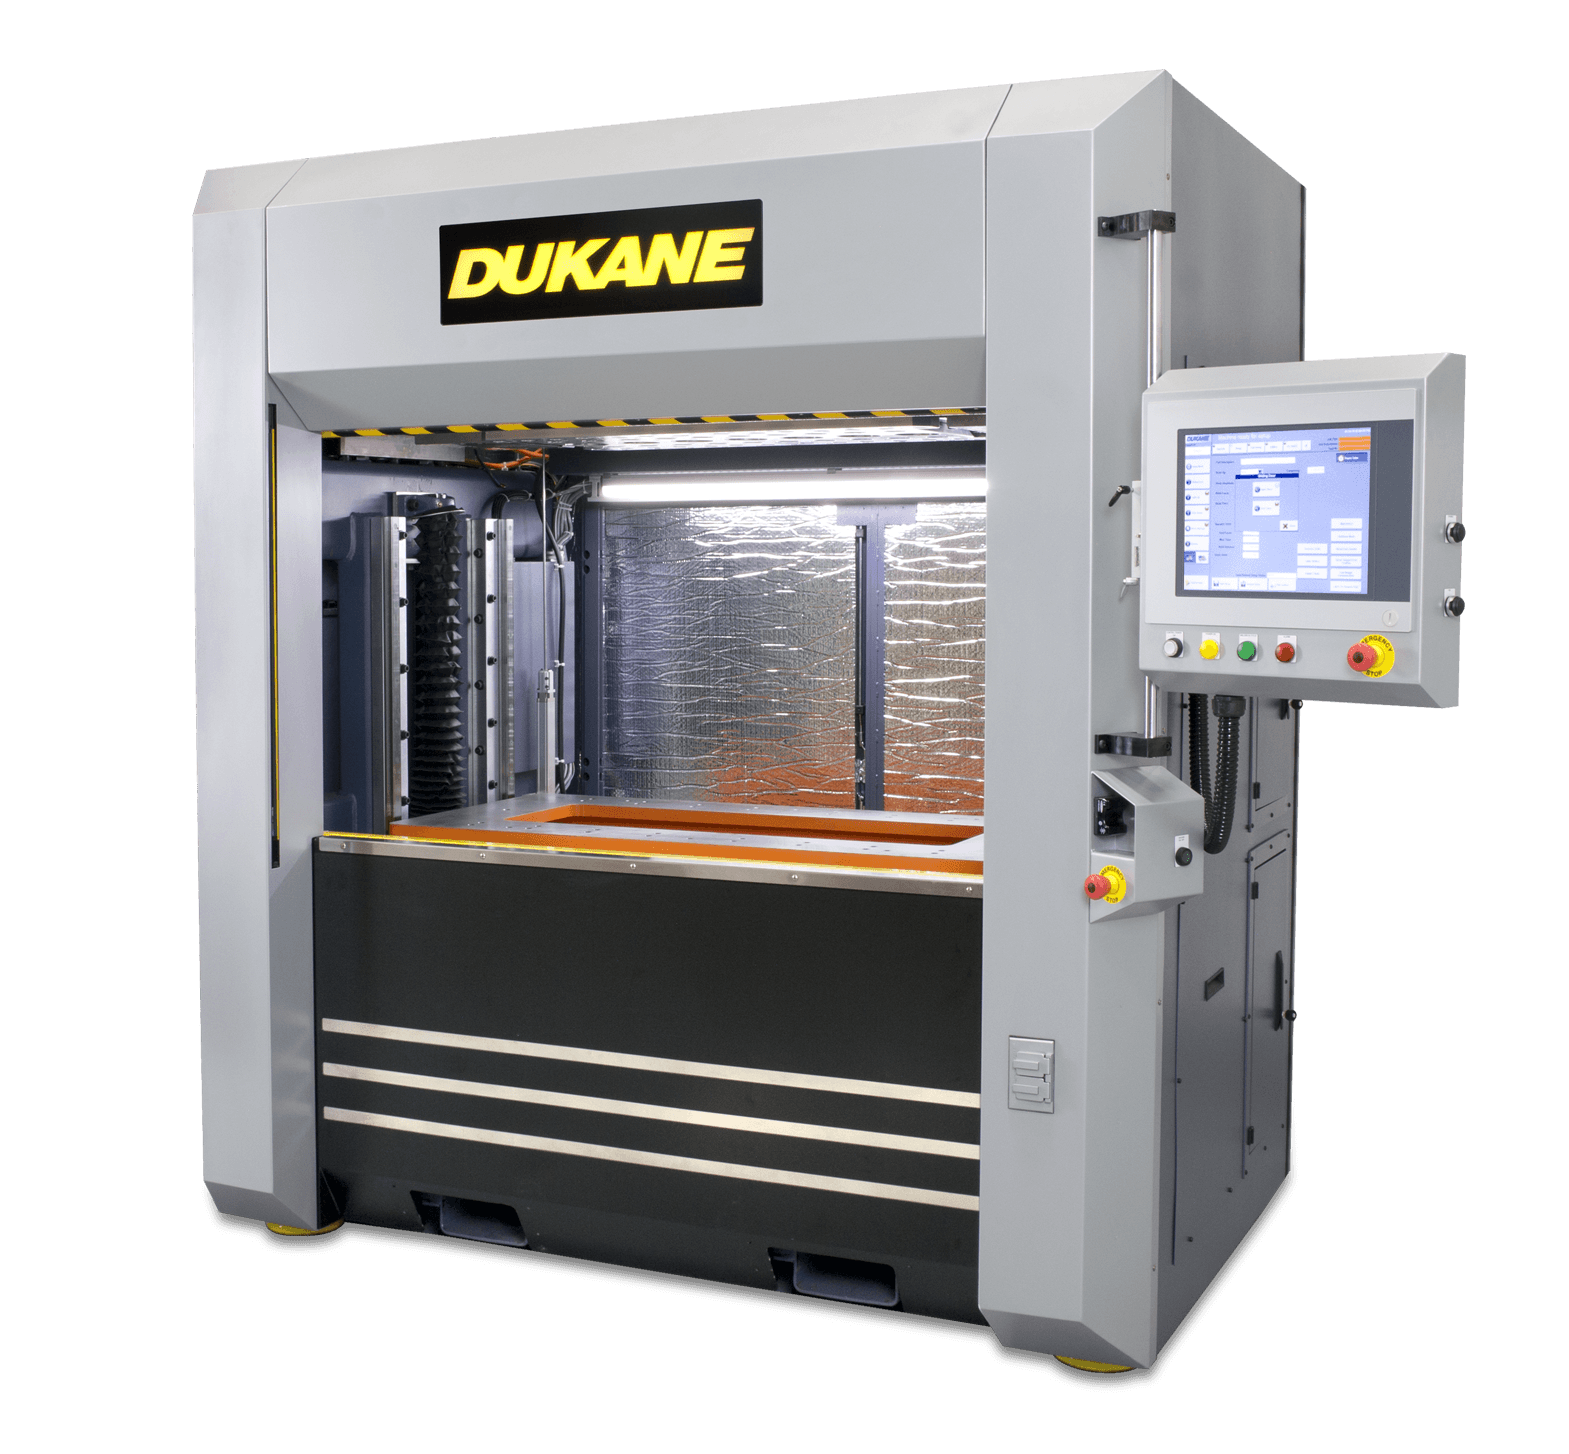


The most important factor in troubleshooting problems in ultrasonic welding is understanding the fundamentals of the process. With this basic knowledge, most problems can be easily diagnosed and resolved. Even so, sometimes your time-tested weld recipe may suddenly fail for no discernible reason.
Perhaps your ultrasonic welder has been running the same application for months, maybe years, with no problems. Abruptly, this cheery continuity is disrupted. Has your weld strength decreased? Are you seeing excessive flash? Does your welder overload as soon as the cycle starts? Here, we will discuss a few unseen factors that can cause sudden changes in your ultrasonic weld quality and how to prevent and correct them.
KNOW THE BASICS
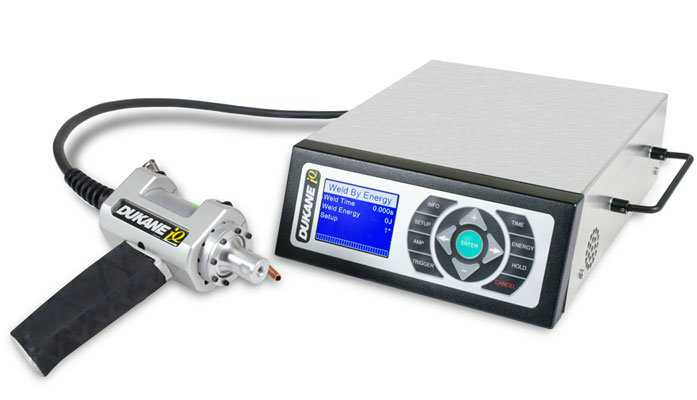
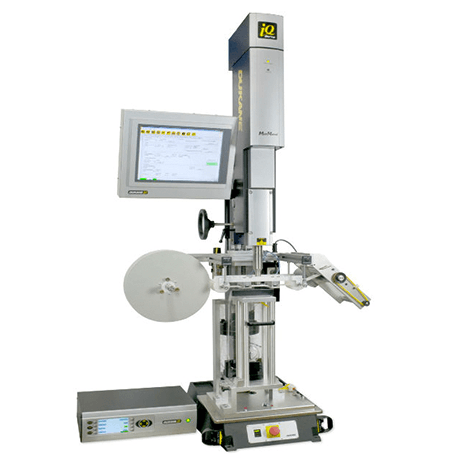
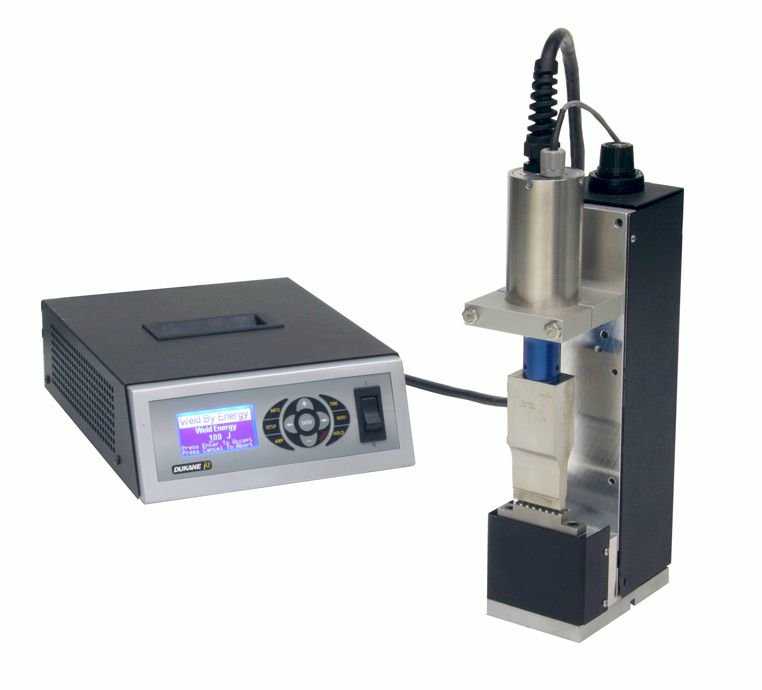
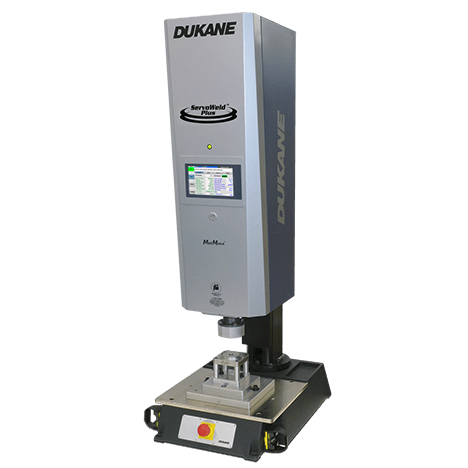
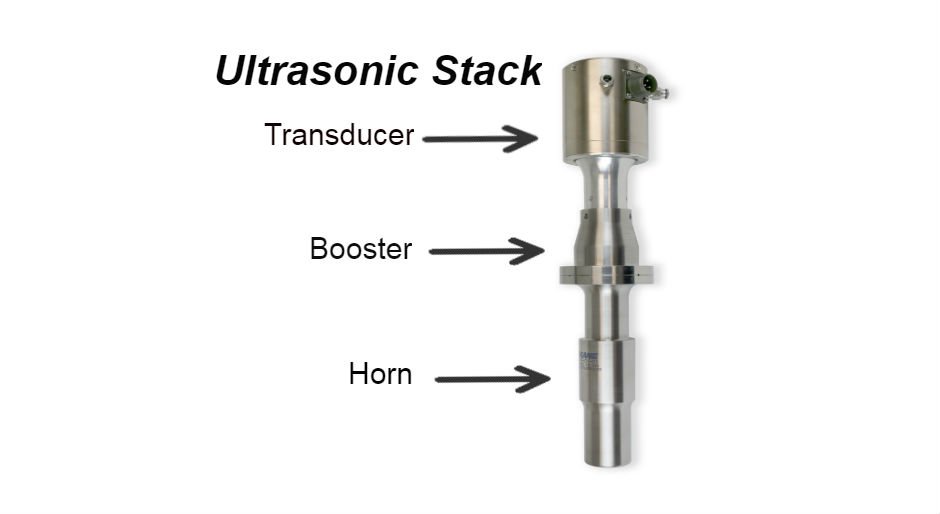
Ultrasonic welding works by applying a vibration at a frequency of 15 to 70 kHz to a plastic part. This vibration is generated through the use of piezoelectric ceramics in the transducer, that convert an electrical signal into mechanical motion. The transducer creates a vertical vibration that is then translated through the booster, and subsequently, the ultrasonic horn. The ultrasonic horn is typically designed to contact the part directly above the weld area so that the vibrations can travel though the upper part to the weld area.
It is important to prevent metal-to-metal contact on your ultrasonic horn to increase its longevity. Because the horn is a tool with acoustical properties, users should be careful to preserve its structural integrity. Any nicks or gouges in the surface of the horn act as stress concentrators that can rapidly lead to cracks when the horn is in use.
WARNING SIGNS
Many signs can indicate a change in your ultrasonic welding process. Some indications of a problem with your part include decreased weld strength, increased flash, and the appearance of cosmetic damage. Some things that signify a problem with the welder or ultrasonic horn are an increased wattage draw, a change in the sound of your weld (typically apparent on lower-frequency welders), and overloading.
If at all possible, leave plenty of time for the part to cool after molding before welding. “Hot” parts are more difficult to control and can cause inconsistency in your weld process. Also, try to perform the welding operation in a climate-controlled environment to eliminate seasonal effects on your process. This is especially important in humid regions.
MORE FACTORS TO CHECK
Sometimes poor ultrasonic welds can be traced back to the injection molding process. Injection mold wear can lead to a rounded energy director in the part (upper right), which produces a weak weld (lower right). A well-maintained mold produces a sharply pointed energy director (upper left), which produces a stronger weld (lower left) with lower welding amplitude and less flash.
If you know it is not your parts causing the problems, it could be your ultrasonic tooling. Occasionally a horn will develop a crack. While most horns will not run at all after forming a crack, some do. Those will often emit a high-pitched ringing sound or run at a higher wattage than normal. It is very important to discontinue use of a cracked horn because it tends to put excess stress on the transducer and can lead to broken piezoelectric ceramics.
Probably the easiest diagnostic test is to mix-and-match your ultrasonic stack if you have multiple welders of the same frequency. Try the horn with a transducer and booster that have been working well. If all is good after this switch, then you know the horn is not the problem. Likewise, you can put a working stack in a questionable welding machine. This is a quick and easy way to locate the trouble spot in your machine without any special equipment.
If you find that the problem is your horn, check it for cracks. To locate cracks in a horn, spray it with a foaming cleaner. Then use the test feature on your welder to introduce short bursts of ultrasonic energy into the horn. The cleaner will collect in the crack and turn a blackish color. WD-40 oil can be used if a foaming cleaner is not available.
Finally, the welding fixture has a significant effect on the accuracy and precision of your welds. Make sure the fixture is providing support to the entire joint area, and that there is no room for misalignment of parts during loading. When welding softer materials such as polyethylene and polypropylene, be sure that there is support around the joint area in both lateral and vertical directions. Soft materials tend to deform outwards, which will hinder or prevent proper welding.